High-precision pine wood chair model made by CNC.

How to Achieve Perfect Precision in Desktop CNC Woodworking

The most critical part of getting perfect cuts with a CNC machine is not simply pressing the go button and watching the magic happen. It’s learning your machine, your material, and the nuanced relationship they have together. Everything from setting up a machine to post-processing has been included in this guide to help you get perfect accuracy at desktop CNC woodworking.

Fundamentals: Understanding Your CNC Machine

For precision, you need to know what the machine can do. Specifically, desktop CNC machines like the Snapmaker are incredible tools for what they are, but each machine has its sweet spots. The majority of desktop CNC machines prefer:

  • Softwoods and hardwoods up to 1 inch thick
  • Project sizes that suit your work area (average 12×12 inches or larger e.g.,  400mm × 400mm)
  • Cutting depths of 0.1-0.2 inches per pass
  • Feed rates between 400-1200 mm/min

A desktop CNC machine generally has three main parts that affect precision.

  • The frame and rails that move your tool
  • The spindle (the rotating part that spins the cutting bit)
  • The work platform where you secure your wood

If you are interested in all the basic components, please read Decoding CNC Router Parts.

Machine Setup and Calibration

Accurate cuts depend on proper setup. Begin by checking these basics:

  1. Make sure your machine is on a stable, level surface
  2. Check that all belts are tight (they should make a low “ping” sound when plucked)
  3. Clean the rails and lubricate them according to your manual
  4. Run a quick test cut on scrap material to check alignment
Use a piece of paper to align the CNC drill bit with the platform.

Choose and Set Up Tools

For most projects, you’ll only need a few bits:

  • A 1/8″ flat end mill for general cutting
  • A 1/8″ ball nose for 3D carving and rounded profiles
  • A V-bit for engraving and detail work
CNC flat bit, ball bit and their effect.

Keep your bits clean and check them for damage before each use. Dull bits will give you rough cuts and can break during use.

Related reading: CNC Router Bits: Basics Terms and Common Types

Wood Selection and Preparation for CNC

First, pick the right material. Moisture content significantly affects dimensional stability, with even small changes causing material movement. Grain direction affects cut quality and needs to be considered in toolpath optimization. Wood species exhibit varying densities and hardness levels, requiring specific cutting parameters for optimal results. For optimal use with desktop machines:

  • Use kiln-dried wood when possible to minimize warping and dimensional instability
  • Start with flat, straight boards, avoid wood with lots of knots
  • Popular choices: pine, maple, and cherry
  • Sheet goods like plywood work great too
  • Plan cuts along the grain to avoid tear-out
CNC Materials Overview

Then, get the wood ready before cutting:

  • Sand your wood flat
  • Measure thickness at several points
  • Mark your cutting area clearly
  • Clean off any dust or debris

Secure the Work

Desktop machines need proper workholding:

  • Double-sided tape works great for small pieces
  • Screw your material to a sacrificial board
  • Use small clamps (but keep them clear of the cutting area)
  • Consider making a simple jig for repeated cuts

Also, set up your work area:

  • Keep your work surface clean
  • Check that your material is fully supported
  • Make sure nothing will interfere with tool movement, run boundary function if supported
  • Double-check that everything is tight before starting

Software Setup: Generate Precise Toolpaths

In the design stage of CAD, keep these design tips in mind:

  • Start with simple designs
  • Avoid super tiny details
  • Use rounded inside corners when possible
  • Account for your bit diameter in your design

In the toolpath stage of CAM, familiarize yourself with the software’s features, including toolpath generation, feed rate adjustments, and simulation options. For most wood projects:

  • Spindle speed: 8000-12000 RPM
  • Feed rate: start slower (around 500 mm/min)
  • Cut depth: no more than 0.1″ per pass
  • Step-over: 50% of bit diameter for best finish

Always simulate the cutting process on the software. This allows you to visualize the toolpath, identify potential collisions, and fine-tune your program for optimal efficiency.

Recommended reading: Snapmake official tested parameters for the CNC module

Start the Woodworking

Test first. Always do a test run:

  1. Start with scrap material
  2. Run your first cut at 50% speed
  3. Watch and listen for problems
  4. Adjust settings based on results

Common Issues and Fixes

  • Rough cuts: slow down feed rate
  • Burning: increase speed or take shallower cuts
  • Chatter marks: reduce cut depth
  • Fuzzy edges: check bit sharpness

Post-Processing and Laser Combinations

Check for quality:

  • Check for smooth surfaces, clean edges, and accurate dimensions.
  • Sand gently to refine the finish.
  • Clean your machine after each project.
  • Record successful settings for future reference.

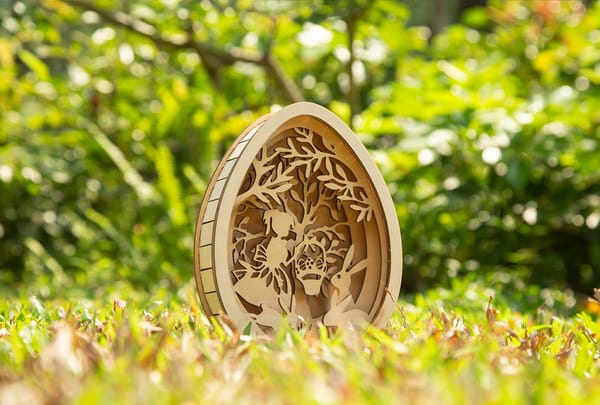
You can use CNC woodworking along with other technologies like laser cutting or 3D printing to explore your creativity.

Laser Cutting:

  • Laser-cut some intricate details and CNC-milled wooden bases.
  • Make interlocking wooden puzzles with laser-cut pieces.
  • Create decorative laser-cut pieces for CNC-milled boxes or frames.

3D Printing:

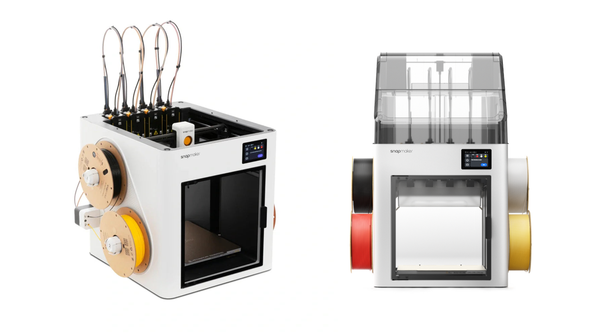
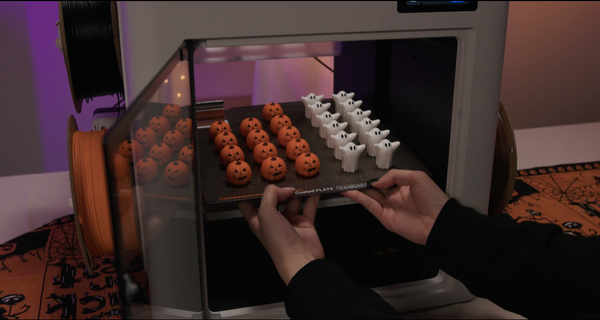
  • Use your CNC-milled project with 3D-printed components
  • Utilize 3D printing to fabricate unique hinges, joints or decorative components.
  • Only CNC-milled wooden frames with 3D-printed inserts.

Safety First

This is an article to provide general information. Always prioritize safety and consult the manufacturer’s instructions for your specific machine. Always:

  • Wear eye protection
  • Use dust collection
  • Keep fingers away from the cutting area
  • Have a clear path to your emergency stop

Conclusion

It takes some experience to get good results out of your desktop CNC, but that is perfectly achievable. Concentrate on the fundamentals: proper material prep, proper setup, and appropriate cutting parameters. Take a small approach, learn from every assignment, and you will make those perfect cuts shortly.

Keep in mind that all desktop CNCs have their limitations. Staying inside these boundaries when pushing yourself will offer the best results. Happy making!

Similar Posts

Leave a Reply

Your email address will not be published. Required fields are marked *