Snapmaker U1: Ready for You
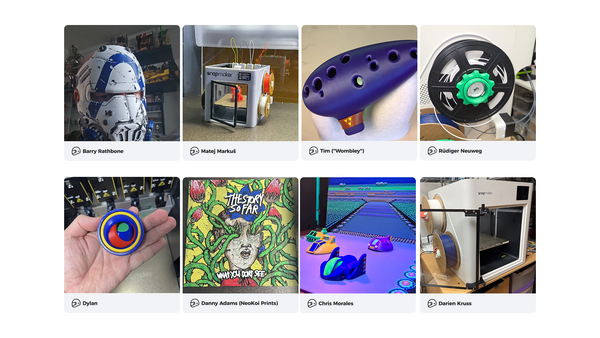
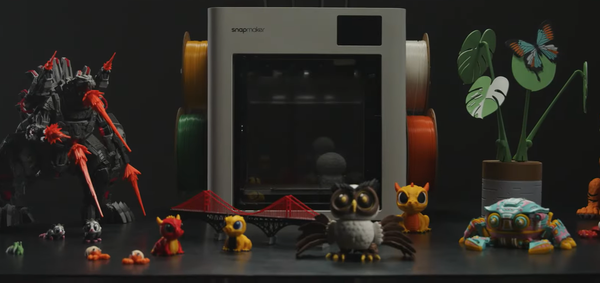
Snapmaker U1 is entering its next phase - not just as a product, but as an evolving platform. Over the past few months, we’ve seen incredible momentum from the community. Today, we’re excited to share a set of updates that, taken together, represent a major step forward for