How to Clean Your 3D Printer Bed
When creating works with 3D printers, don’t forget to clean them regularly to ensure error-free and successful 3D printing. It is highly important to maintain a 3D printer as dirty beds typically cause bad adhesion and surface defects and may be responsible for defective 3D prints as well. In this guide, we will learn in-depth about how to clean a 3D printer bed.
In this article:
- How to Keep Your 3D Printer Bed Clean
- Routine Cleaning Process for All Bed Types
- Cleaning By Specific Bed Type
- Flexible Magnetic Beds
- Glass Beds
- PEI Sheets
- Adhesive Build Surfaces
- Textured or Powder-Coated Sheets
- 3D Printer Maintenance Tips
How to Keep Your 3D Printer Bed Clean
Selecting the right 3D printer bed ensures a non-stick printing process. The following are some varieties of 3D printer beds.
Glass beds
Glass beds have become popular among 3D printing enthusiasts because they provide a flat, polished surface that ensures great adhesion with various printing materials. Usually tempered glass is used, which also makes it abrasion and heat-resistant. With glass beds, the products are also shown to possess a very gloss polish and can be used with filaments such as PLA, ABS, and PETG.
PEI-coated beds
The PEI beds deliver great adhesion and make it rather easy to remove prints. Made from thermoplastic, which is rather durable, they let a reusable surface be used, benefiting the overall experience of 3D printing. It’s a bed with PEI offering great adhesion without tapes, which makes the build process easier. Once cooled down, prints can be taken off easily from the bed, and there is a reduced risk of both print or bed damage.
Flexible magnetic bed
Magnetic beds are convenient and flexible printing surfaces, hence their popularity among 3D printing enthusiasts. These mainly contain a top sheet that is removable and a magnetic base that grants easy installation and uninstallation without damage. Various types of surface materials make magnetic beds fit for every kind of need in printing. They are flexible. Hence print removal without any problem-forced flexibility does the trick: just bend the surface, and the print falls down without causing damage.
Routine Cleaning Process for All Bed Types
Now, let’s take a look at the step-by-step guide on how to clean a 3D printer sheet. For each type of bed, a good cleaning schedule after each few prints is necessary in order not to build up the surfaces that affect the print quality. Please always follow the manufacturer’s instructions.
- Isopropyl Alcohol (IPA): Wipe the bed with 70-95% IPA in a cloth. This is enough to remove oils, dust, and minor residues. IPA usually works well for most surfaces, such as glass and PEI .
- Warm Water & Soap: In cases where the stains are tougher or have heavier residues, warm water with mild dish soap usually helps. The bed should be rinsed and dried thoroughly before use. Don’t soak parts attached to the printer.
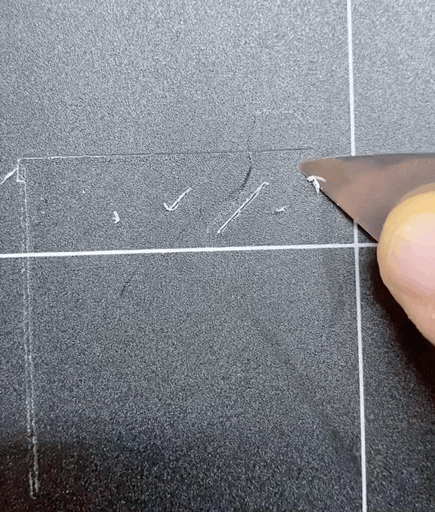
- Scraping: Use a plastic scraper to remove filament or adhesive buildup. Avoid using metal scrapers whenever possible. If you must use one, carefully hold the front end of the scraper, applying focused pressure with your fingers, and slowly remove any residue to prevent scratching the print bed.
Cleaning By Specific Bed Type
Cleaning will depend upon the type of print bed used, so here are the specific methods corresponding to the material of your bed:
Flexible Magnetic Beds:
Wet the microfiber cloth or paper with clean water to clean the printing bed. With the manufacturer’s approval, you can use IPA to maintain the adhesive surface, or, if necessary, clean it with mild soap and water. Since these are removable beds, they can be cleaned differently and apart from the primary apparatus, which will promote the ease of cleaning.
Avoid using hard chemicals that might react with the magnetic part.
Glass Beds:
Glass beds are extremely scratch-resistant, and relatively easy to clean, very durable. IPA is good enough for everyday use, as well as soap with water for more stubborn grease or filament residue. Acetone can be used for really stubborn stains-there shouldn’t be any damage to the glass here. Just make sure to wash off any chemicals before the next print.
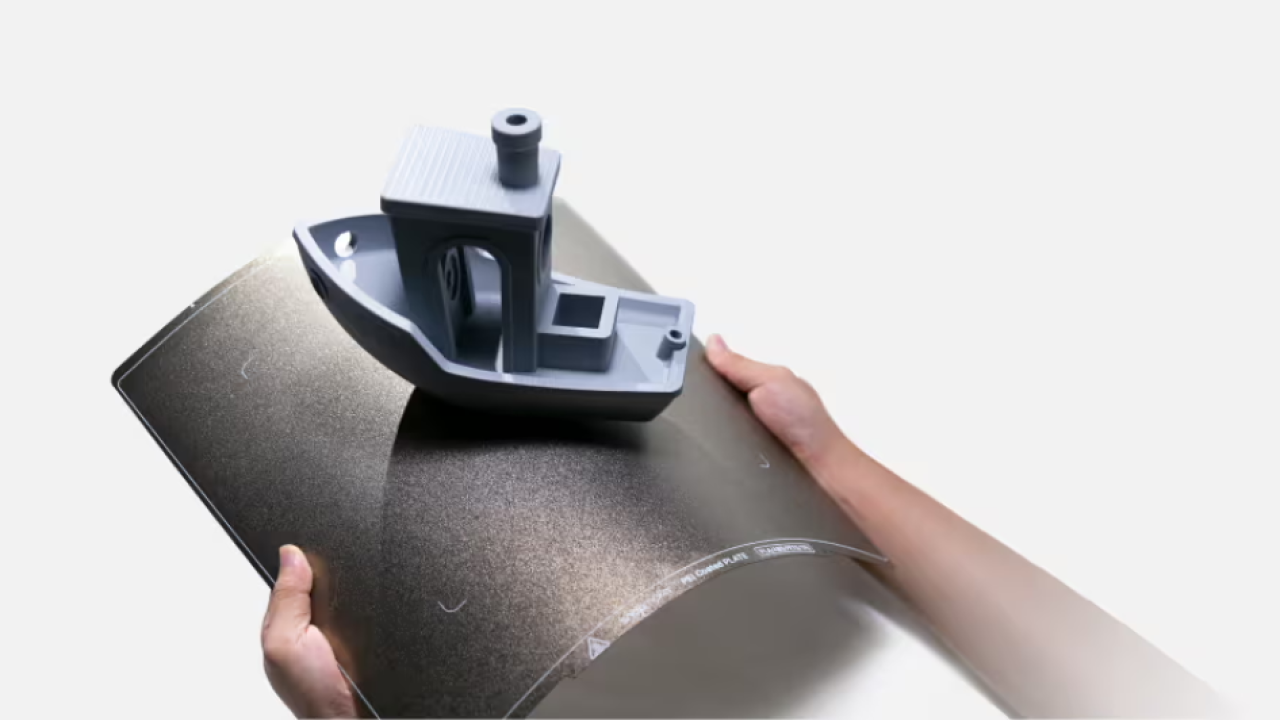
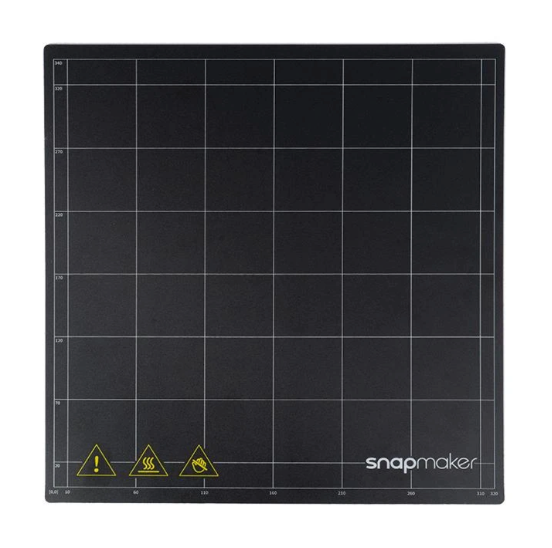
PEI Sheets:
PEI-coated surfaces are sensitive to oils and fingerprints, so avoid touching them directly after cleaning.
IPA is fine for general cleaning, but when using it to clean with low adhesion, you might as well wash it in warm, soapy water. Use acetone only occasionally to revive it. The more you do this, however, the more the sheet will degrade.
Adhesive Build Surfaces:
Treat adhesive build sheets with extreme care. Cleaning can be done using IPA, but scrapping or using chemicals like acetone should be avoided since the latter may harm the surface. The sheet must be replaced if there is significant residue or wear.
Textured or Powder-Coated Sheets:
Textured surfaces, like some powder-coated beds, can catch filament in crevices. Use a brush or sponge with warm water and soap to remove the particles. Avoid using sharp instruments or strong solvents to avoid stripping the coating off of the bed.
3D Printer Maintenance Tips
Here are some 3D printer maintenance tips that will allow you to have good, hassle-free printing.
- Avoid Harsh Chemicals: Avoid using ammonia-based cleaners or other harsh chemicals on your bed, as they can be too harsh for the bed material. IPA or soapy water is generally safe for most bed types.
- No Metal Scrapers: Never use metal scrapers to scrape off the residue from the bed. In particular, avoid using any metal scraper on soft coatings such as PEI or BuildTak.
- Clean Regularly: Even after you are done printing, dusts and oils still leave residues on the bed. Cleaning regularly will ensure that problems do not start before you even know of them.
- Replacement: If the bed is excessively scratched or won’t print, it must be replaced. Substrate damage can’t be reversed in more than a few prints.
Final Thought
For successful 3D prints, the print bed must be free from debris, as it directly impacts the adhesion and quality of prints. With a little regular upkeep, 3D printer maintenance is far easier than you think, allowing you to extend the life of your printer and improve your overall printing experience.