How to Remove Laser Burn Marks from Wood
When working with laser cutters and engravers on wood, you’ve likely encountered those distinctive dark marks left behind by the laser beam. These burn marks are a natural byproduct of laser cutting or engraving.
In this blog, we’ll explore everything you need to know about laser burn marks: what causes them, how to prevent them, and most importantly, proven techniques to remove them when they’re not part of your design.
What Causes Laser Burn Marks
When a laser beam interacts with wood, it generates intense heat that burns or vaporizes the material. This process leaves burn marks ranging from light smoke residue to deep charring. While some artists leave marks intentionally for creative effect, they are generally unwelcome imperfections that detract from the look of the work.
Several factors influence the severity of burn marks:
Wood Properties
- Denser woods burn more slowly meanwhile creating deeper marks.
- Moisture-rich woods burn in irregular patterns.
- Straight grain produces a uniform burn pattern and is easier to remove, while irregular grain produces an uneven burn.
- Wood with a high resin content (pine) is prone to scorching.
Laser Parameters (power, speed, focus, frequency)
- Power settings regulate energy delivery over time, where increased power leads to deeper cuts or darker engravings.
- Cutting speed affects the exposure time (dwell time). Higher speeds produce less energy delivered to each point, leading to shallower cuts or lighter engravings.
- The laser beam is focused on a small spot to concentrate its energy. Focus accuracy impacts burn precision.
- Frequency settings influence heat distribution. The lower the frequency, the wider and more dispersed the marks. (Note: Not all diode lasers offer adjustable frequency.)
Tips: Any material that absorbs laser energy and generates heat can develop burn marks.
Removal: Get Rid of Laser Burn Marks
Before starting, prioritize safety. Wear laser safety goggles and a dust mask, and work in a well-ventilated area. Enclosing the laser machine with a dark cover is recommended.
Removing Light Burn Marks (Surface Smoke/Light Charring)
These are the easiest to remove. They appear as a light discoloration or smoky residue on the wood surface.
Gentle Cleaning:
- Utilize a soft or microfiber cloth moistened with a mild soap and water solution.
- Carefully scrub the targeted area using circular motions.
- Rinse with a clean damp cloth and ensure it is thoroughly dried.
Erasers:
- Utilize an art gum eraser or a magic eraser.
- Carefully rub the burn mark with short, back-and-forth strokes.
- Wipe away any residue left by the eraser.
Removing Medium Burn Marks (Noticeable Darkening)
These burns penetrate slightly deeper into the wood, causing a more pronounced darkening.
Sanding:
- Start with 180-220 grit sandpaper.
- Sand along the grain direction.
- Move to finer grits, up to 400.
- Apply consistent pressure throughout
Staining/Finishing:
- Choose a wood stain that closely resembles the original wood color.
- Apply the stain uniformly to the sanded surface, adhering to the manufacturer’s guidelines.
- Finish with a clear coat (such as varnish or polyurethane) to safeguard the wood and ensure the repaired area blends seamlessly.
Wood Filler (Optional):
- For a burn that is a bit deeper, apply wood filler to fill in the gap before sanding and finishing.
- Select a wood filler that is suitable for staining or painting.
- Ensure the filler is fully dry prior to sanding.
Removing Deep Burn Marks (Significant Charing/Structural Impact)
These are the most challenging burns to remove and may leave a visible scar. The wood’s structure might be affected.
Rotary Tool/Carving Tools:
- To gently eliminate the heavily charred wood, use a rotary tool equipped with a sanding drum or a small carving tool. Take great care not to strip away excessive material.
- Always wear safety glasses and a dust mask.
Sanding:
- Once you’ve taken off most of the burn, sand the area to create a smooth finish that matches the surrounding wood. Begin with a coarse grit and progressively switch to finer grits.
Wood Filler/Epoxy:
- Utilize wood filler or epoxy resin to fill the created cavity. Epoxy is typically a superior option for more extensive or deeper repairs.
- For epoxy, think about adding a colored pigment to blend with the wood grain.
- Let the filler or epoxy cure fully.
Staining/Painting/Finishing:
- Color the repaired area with stain or paint to blend in with the surrounding wood.
- Finish with a clear coat for added protection.
Prevention: How to Laser Cut/Engrave Without Burn Marks
The best way to deal with laser burn marks is to prevent them from occurring in the first place. Here are essential preventive measures:
- Optimizing Laser Settings: The interplay of laser power, speed, and focus is crucial. Generally, higher speeds with lower power often produce cleaner cuts than slower speeds with higher power—experiment on scrap wood to find the optimal settings for your specific material and laser.
- Material Testing: Always test your settings on scrap wood that’s the same type and thickness as your final piece. This will save you time, materials, and frustration.
- Lens Cleaning: Regularly clean your laser lens to ensure optimal performance and prevent debris from interfering with the laser beam.
- Masking: Applying masking tape to the wood’s surface before engraving can protect it from smoke residue and light charring.
Recommended reading: How to Find the Optimal Work Parameters
Air Assist for Laser Engraver or Cutter
A proper air assist system is crucial for minimizing burn marks. It:
- Clears debris and smoke while cutting
- Minimizes heat accumulation in the cutting area
- Enhances overall cutting quality
- Safeguards your laser lens from contamination
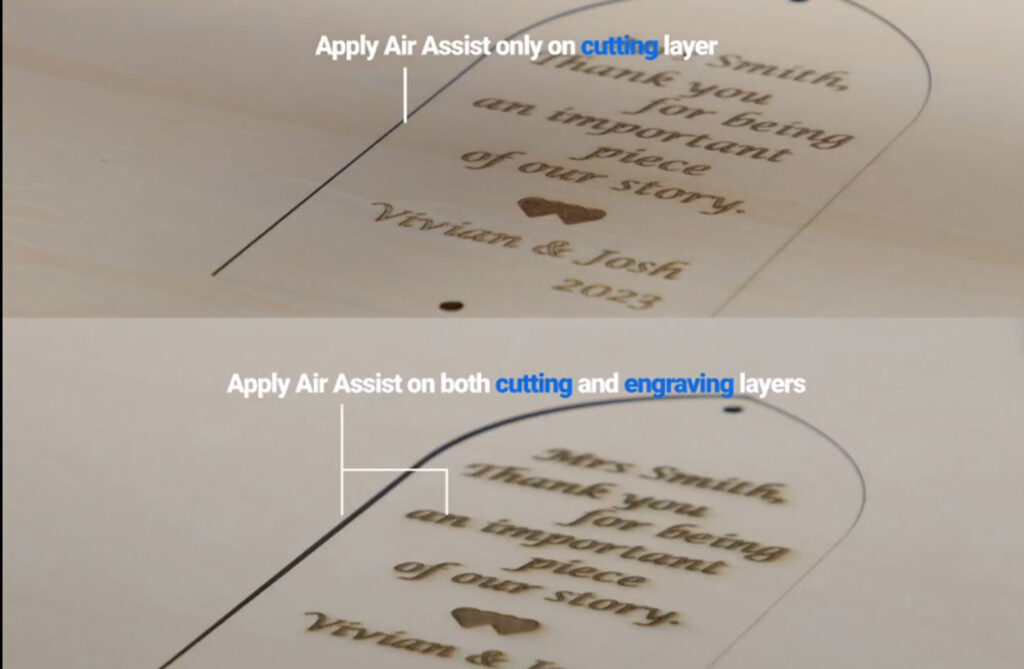
Modern laser systems like those using Luban software can automate air assist controls for different cutting layers, significantly improving results.
Laser Burn Marks as an Artistic Effect
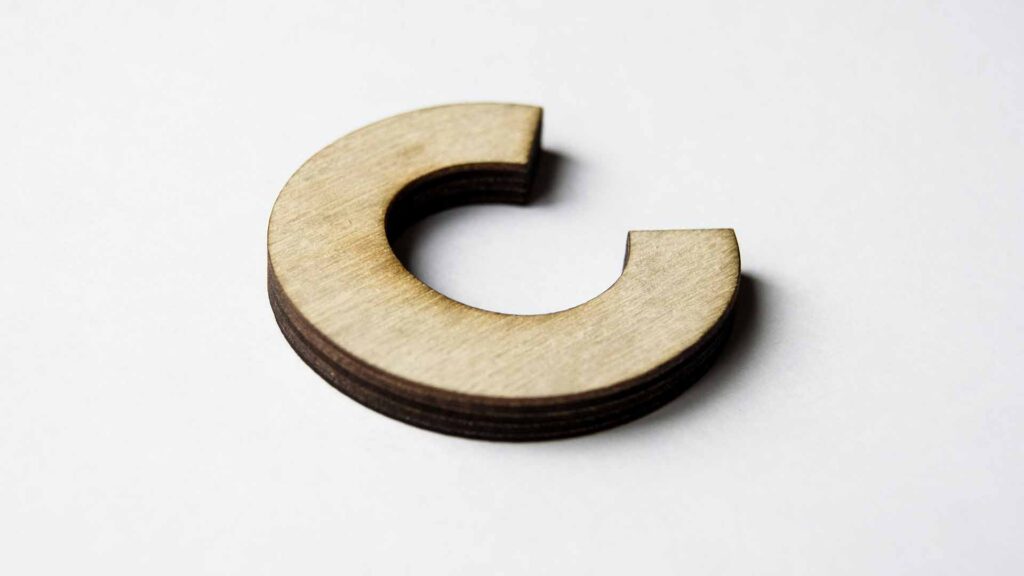
It’s important to remember that burn marks aren’t always undesirable. Skilled laser artists often use controlled burning to create depth, contrast, and texture in their work. This technique can achieve a rustic, vintage, or even dramatic look.
Conclusion
Successfully removing laser burn marks requires patience and the right approach for each situation. Remember:
- Always start with the gentlest method
- Test techniques on scrap wood first
- Consider whether the burn marks might enhance your design
- Maintain your laser equipment regularly to prevent excessive burning
You can achieve clean, professional results in your laser woodworking projects with practice and attention to detail. Keep experimenting with different techniques and don’t hesitate to embrace some burn marks as design elements when appropriate.


