
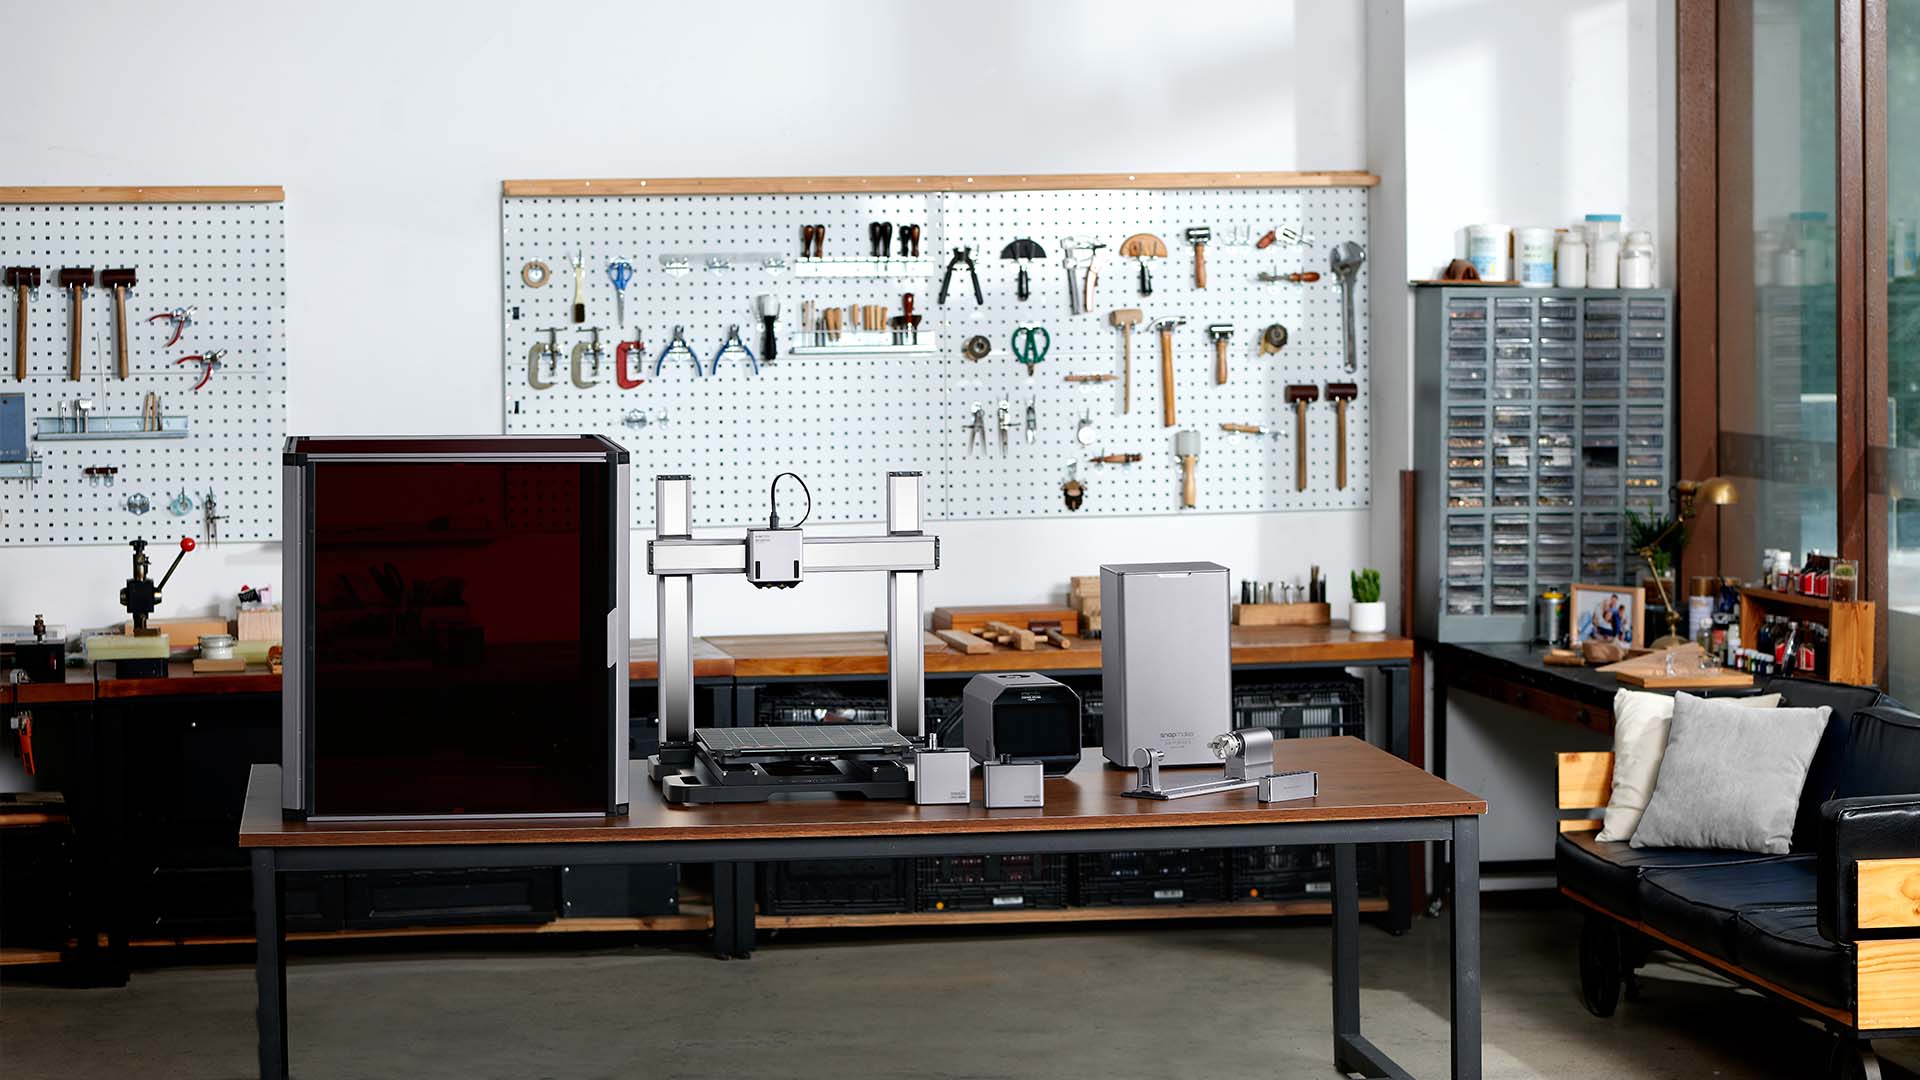
How to Set Up a Workshop
Setting up a home workshop is an extremely exciting and equally satisfying project! Anything from wood or metal to electronics, crafts, or simple repair work requires a maintained space to make a difference. This guide assists you in how to set up a woodworking shop safely, functionally, and efficiently to fit your needs.
Define Your Workshop’s Purpose
Determine what projects you plan on doing: Before you go ahead with building a workshop, you have to decide which projects you’ll be undertaking: woodworking, metalworking, electronics, crafts, repairing things, or a 3-in-1 combination?
For example, a woodworker will prioritize space for larger tools and dust collection, while an electronics hobbyist will need a clean, well-lit area with good ventilation for soldering. The purpose will dictate the tools, equipment, and space requirements, forming the foundation of your plan.
Assess Your Available Space
Choose a suitable location for your workshop setup based on available space in your home. Common options include:
Location Options:
- Workshop in Garage: Roomy but may need to share space with vehicles.
- Basement: Cool, but may need extra lighting and dehumidification.
- Shed or Outbuilding: Private space, but may need power and insulation.
- Spare Room: Convenient but requires noise and dust control.
Measure the Space:
Carefully measure the area; take flooring, walls, lighting, electrical outlets, and ventilation into account. This will help you plan an appropriate layout that maximizes work and efficiency.
Evaluate Existing Features:
- Flooring: Concrete, wood, or other? Choose flooring that is durable and easy to upkeep.
- Walls: Are they finished? Think about insulation and wall coverings for durability and sound dampening.
- Lighting: Any existing lighting may be inadequate. Plan for the task and ambient lighting.
- Electrical Outlets: Will there be enough outlets, and will they be in convenient locations? Will handling power tools require adding outlets and perhaps circuits?
- Ventilation: Is there natural ventilation (windows, doors)? You may need to add mechanical ventilation, especially for dust and fumes.
Budget and Schedule
- Set a Budget: Determine your overall investment and how much you’ll spend initially. Gradual setup is budget-friendly.
- Prioritize Essentials: Focus on core tools and safety gear aligned with your workshop goals (workbench, hand tools, lighting, essential power tools).
- Consider Used Tools: Explore used markets for significant savings, especially larger equipment.
- Phase Purchases: Start with essentials and expand gradually as your skills and budget grow. This allows for manageable spending and refinement of your needs over time.
Design the Workshop Layout
This section will help you plan your home workshop layout and select the right items for functional and efficient workspace use. Good planning at this stage will greatly enhance your workshop experience.
1. Defining Work Zones
To maximize efficiency and organization, divide your small workshop layout into distinct functional areas based on your workflow. Common work zones include:
- Assembly/Workbench Area: Consider this central space for general tasks, hand tool work, and project assembly. It should be spacious and well-lighted.
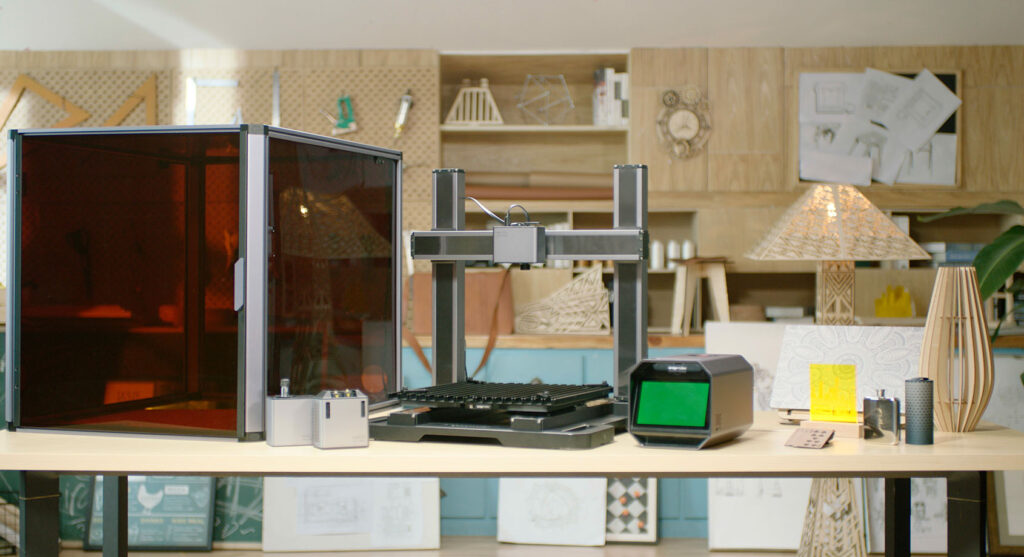
- Machine Area: Provide space for heavy power tools, 3D printers, laser engravers, jointers, and drill presses. Add important safety clearances around the machinery.
- Finishing Area: Ideally, this is a separate, well-ventilated place where paints, stains, and other finishes are applied.
- Dedicated space for storing tools, project supplies, and consumables. An efficient storage arrangement keeps the workspace clean and the tools readily available.
- Material Storage: Plan for storing raw materials like lumber, metal stock, or other project-specific materials. Consider vertical storage solutions for long items.
- Clean-up Area: Make an area available for dust collection, waste disposal, and cleaning supplies. This will help to ensure a safe and healthy workshop environment.
Workbench – The Central Hub:
- Workbench Placement: Position your workbench strategically. Central position works, but consider placing it where it supports your main workflow best while getting good light.
- Workbench Features: Choose a workbench that best meets your projects:
- Sturdy Construction: A solid, stable workbench is necessary for many workshop tasks.
- Appropriate Size and Height: Choose a size that fits your space while giving lots of working surface. The workbench’s height must be comfortable for you to work on for extended periods.
- Vises and Dog Holes: Certain projects will require clamping workpieces, so consider distinguishing a section of the table with vises for this purpose, or if using a universal approach, you will want to include dog holes for work-holding with universal accessories.
2. Optimizing Workflow and Safety
● Workflow and Traffic Flow: Arrange your work zones to create a logical flow for your projects. Minimize unnecessary movement between zones. Consider how materials will move through your workshop from storage to completion.
● Safety Zones and Clearances: First, ensure adequate areas for the operation of machinery and movement around machinery, and then keep walking spaces clear of such objects to avoid accidental falls.
3. Tool Placement and Storage
- Tool Storage Place. Keep hand and measuring tools frequently used within reach and accessible with locations at major work zones, especially at the workbench.
- Tool Storage: Keeping tools organized, safe, and readily available can be accomplished in several ways.
- Wall Shelving: It can accommodate project boxes and less frequent tools with vertical storage of materials by wall-mounted shelves.
- Freestanding Shelf Units: Freestanding shelves can be moved fairly easily, accommodating any changes made in the workshop.
- Lumber Racks: Essential for long lumber or metal stock to be stored vertically, saving floor space.
- Cabinets (Base and Wall): An enclosed store keeps tools from dust and presents a neat appearance in the workshop. Wall cabinets are the best for eye-level access.
- Drawers: It is suitable for arranging small hand tools, hardware (screws, nails, etc.), as well as measuring or marking tools.
- Tool Organizers: For organizing tools, pegboards, magnetic tool holders, toolboxes, and drawer organizers could be employed to maximize efficiency.
- Mobile Tool Carts. Carts provide storage that attaches to wheels and rolls from shop to project, allowing the user to keep the tools of interest close at hand.
Incorporate Safety Measures
Lighting
- Ambient Lighting: Direct overhead lights that will light the whole workshop area (fluorescent or LED shop lights are fairly common).
- Task Lighting: Adjustable lamps or directed lights focused on working areas like the workbench and machinery.
- Natural Light: Maximize the amount of natural light coming in with regard to windows, which also includes glare control.

Power and Electrical
- Adequate Outlets: Install enough outlets at smart places around the workshop, including workbenches and machinery.
- Dedicated Circuits: It could be useful to think of dedicated circuits for power-hungry tools to prevent them from being overloaded.
- Heavy-Duty Extension Cords And Power Strips: Heavy-duty extension cords and power strips must be used for operation and should provide surge protection.
- Three-phase Power: Three-phase power must be considered if dense industrial machines are going to be used, but that rarely happens in a home shop. Please consult with an electrician if necessary.
Dust Collection and Ventilation
- Shop Vac: For cleaning around the shop and connecting to power tools. Dust Collectors: For larger woodworking machines such as table saws and planers. These could also be central dust collection systems or portable dust collectors.
- Natural Ventilation: Use windows and doors as purveyors of air into and out of the building space.
- Exhaust Fan: An exhaust fan can handle any dust, fumes, or odors, especially in polishing areas.
- Cross Ventilation: Provide inlets and outlets to enhance airflow movement across the range.
Safety Equipment
- Safety Glasses/Goggles: Always eye protection is a must in any workspace.
- Hearing Protection: Earmuffs or plugs are a good way to protect against loud power tools’ damaging sounds.
- Respirators or Dust Masks: Wear these while sanding or finishing to protect against dust and fumes.
- Work Gloves: Protects hands from cuts, abrasion, and chemicals.
- First Aid Kit: This should always be present in the workstation, and the first-aid kit should be fully stocked.
- Fire Extinguisher: The standard requirements of an ABC fire extinguisher will be installed and positioned in an area for easy access.
Key Takeaways
All the steps mentioned above, including purpose, selecting an area, creating a layout for the woodworking shop design, and safety, will make a complete plan for your small workshop. This approach covers all the critical parameters and gives you a space ready to apply your projects.