
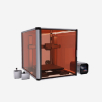


Snapmaker U1
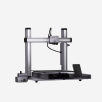
Snapmaker Artisan
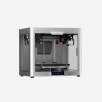
Snapmaker 2.0
Snapmaker J1/J1s


Filament-changing printers 'purge' by wasting perfectly good filament—pushing one color through the nozzle until the last trace of the old one is gone. The U1 doesn't play that game. It only purges the tiny amount of filament that's actually degraded by the time a new print job begins, or during flow-rate calibration, cutting waste by up to 80%[4] on every print.
The U1 uses steel-ball kinematic couplings to click each print heat into perfect position, then locks it securely—no screws, no magnets, no extra motors. Locked fast, rock solid, tested over 1,000,000 swaps with zero failures.


“Others” refers to 3D printers that use a filament changer to swap materials.
* Based on PLA filament at an average cost of $15/kg, with a printing frequency of one piece per week.
The U1 automatically aligns XYZ offsets between multiple toolheads, keeping offsets within 0.04mm[5] for sharp prints without vertical shifts.
Input Shaping, aided by a precision accelerometer sensor, reduces vibrations caused by rapid directional changes by pre-processing movement commands to cancel out resonant frequencies. By adjusting acceleration profiles and introducing calculated delays, it prevents surface artifacts like ghosting or ripples, allowing the U1 to deliver clean edges, smooth walls, and sharp details even at high speeds.

The U1 uses Pressure Advance to stay ahead of flow delays, especially during quick moves or sharp corners. It tweaks extrusion timing based on motion changes, so filament flows smoothly even when speeds shift. That means fewer blobs, less thinning, and crisp, consistent detail.
The automatic mesh bed leveling delivers a flat, grippy first layer, setting the stage for every print.


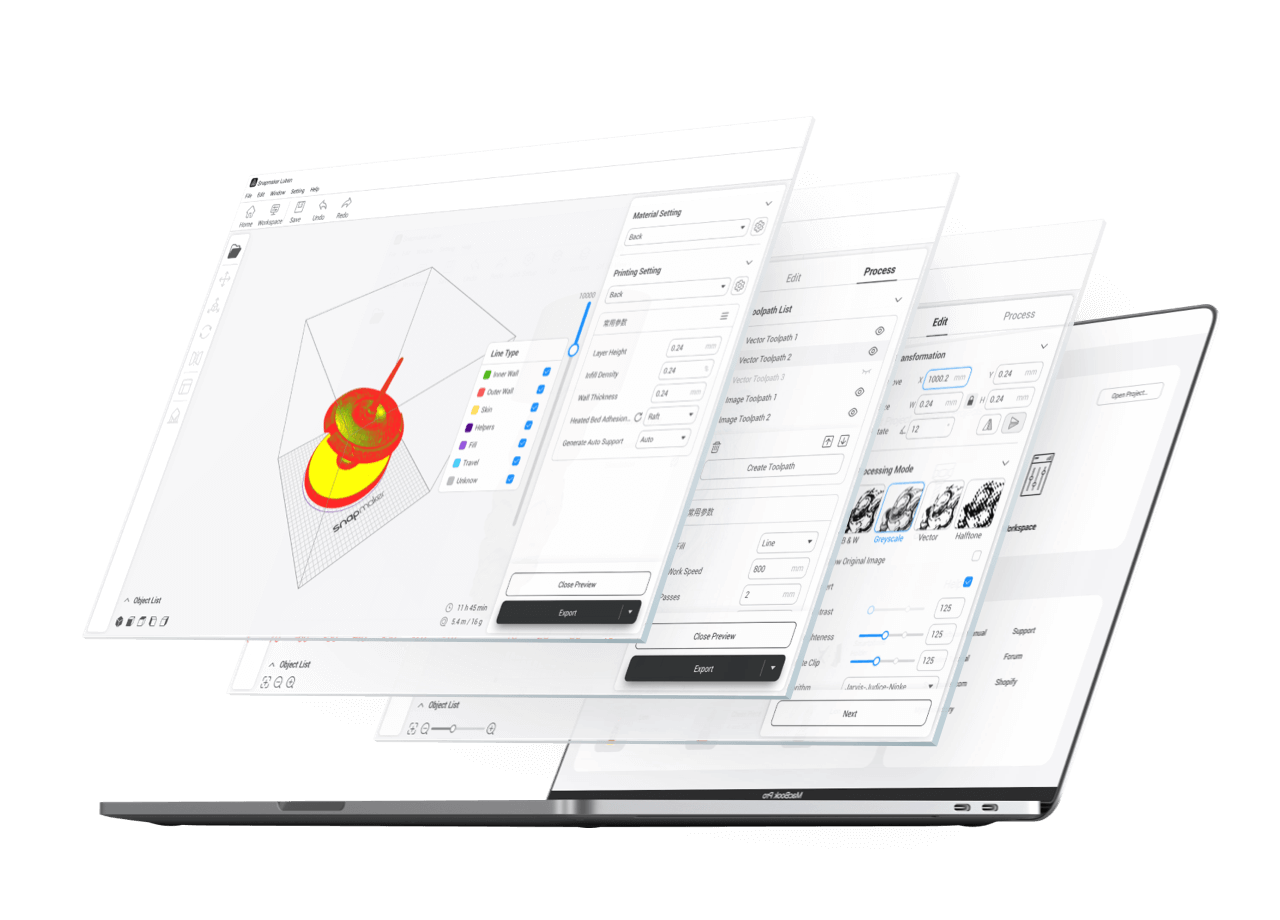
Snapmaker Orca builds on Orca Slicer’s powerful engine and adds engineer-tested profiles for official materials and machine models. Paired with the Snapmaker App, you can start, monitor, and control your prints from anywhere—and even capture time-lapses videos to replay your creation in motion. Easy print management is right at your fingertips.


Whether you're bonding over colorful creations at home, building your ultimate hobby hub, or adding a clever twist to your everyday style, the U1 makes it all effortless and fun.


How the U1 Is Built and Tested
Snapmaker machines are built for excellence, as our longtime users know very well. From careful assembly to rigorous lab testing, each unit is crafted for reliability, consistency, and creative freedom you’ve come to expect.

Subscribe now for early access to exclusive updates, creator stories, and first-hand insight.


